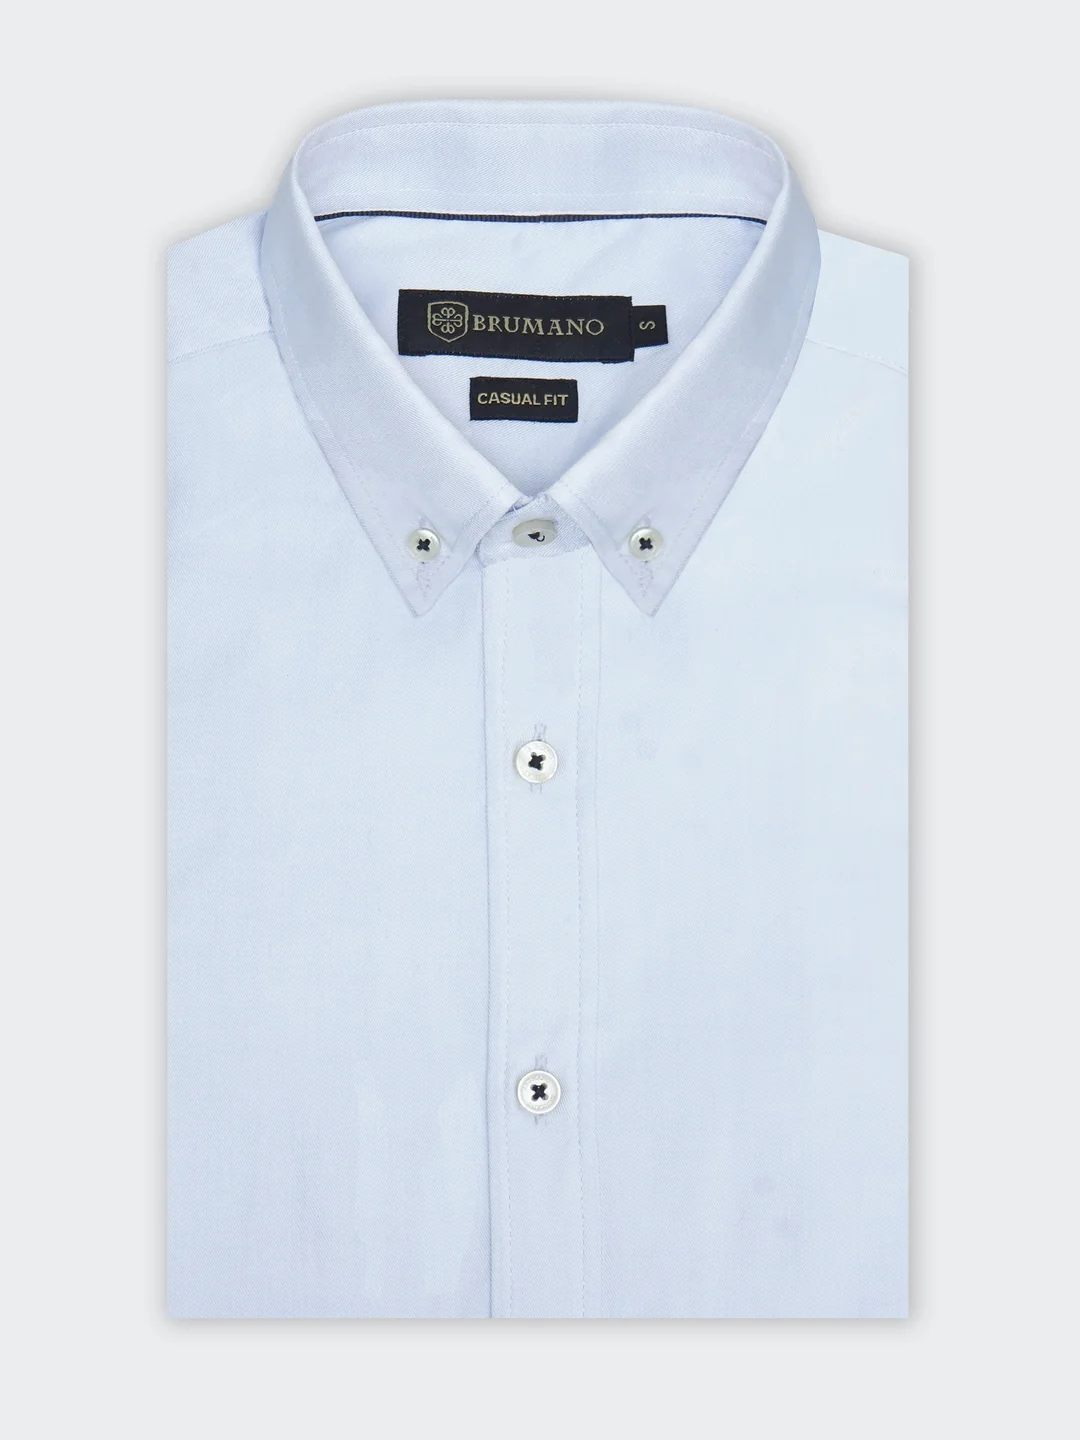
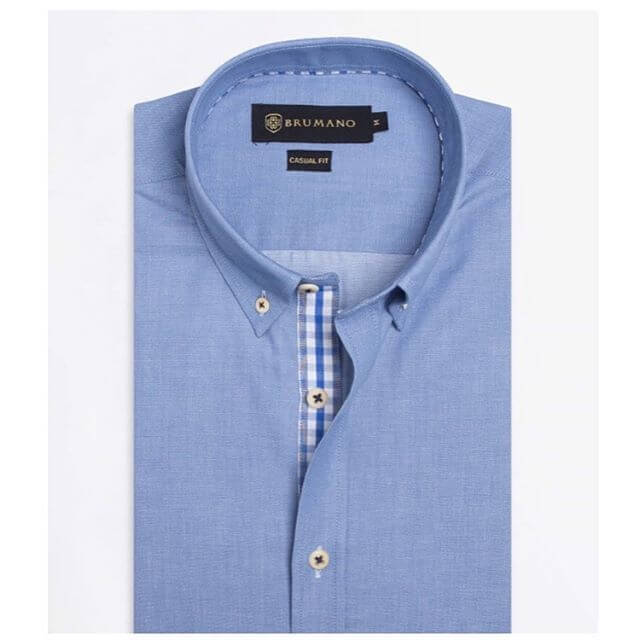
In enterprise garment procurement, approving a pre-production sample represents your final quality checkpoint before a manufacturer initiates full-scale bulk production. This physical prototype is the bridge between digital specification sheets and physical apparel manufacturing. Thoroughly evaluating your sample ensures that fabric weight, color accuracy, garment construction, and logo embroidery match your exact contract terms.
Article Overview & Navigation
- Why the PP Sample is Your Last Checkpoint Before Bulk
- What is a Pre-Production Sample in Uniform Manufacturing? (Direct Answer)
- The 3 Garment Sampling Stages — From Proto to Sealed Sample
- What to Inspect on a Pre-Production Sample (10-Point Checklist)
- How to Document Approval & Create a Legal “Sealed Sample”
- Red Flags: When NOT to Issue PP Sample Approval
- Best Practices for Sourcing Pre-Production Samples
- Frequently Asked Questions
Why the Pre-Production Sample is Your Last Checkpoint Before Bulk
Once a garment factory cuts tens of thousands of yards of fabric and initiates assembly lines, correcting errors becomes impossible. Approving a pre-production sample locks in every physical specification—from fabric hand-feel and seam stitching density to button attachment strength and embroidered logo placement. Skipping or rushing sample approval exposes enterprise buyers to substantial financial risk, including non-conforming shipments, delayed rollouts, and costly legal disputes over quality standards.
What is a pre-production sample in uniform manufacturing?
⚡ Direct Answer: What is a pre-production sample?
A pre-production sample (also known as a PP sample) is a final prototype garment manufactured using the exact bulk production fabric, dyed pantone colors, trims, buttons, and digitized logo embroidery specified in your order contract. It serves as the physical benchmark against which the entire bulk order is inspected and approved.
The Garment Sampling Stages — From Proto to Sealed Sample
Understanding the standard garment sampling process prevents misunderstandings between procurement managers and factory merchandising teams:
Proto / Development Sample
Constructed using available factory sample fabric to evaluate basic garment styling, collar proportions, pocket construction, and overall aesthetic feasibility.
Fit & Size Set Sample
Manufactured across a full size run (S through 3XL) to verify pattern measurement accuracy, armhole mobility, and size grading tolerances on live fitting models.
Pre-Production (PP) Sample & Sealed Sample
The final golden prototype produced on actual factory bulk lines using final bulk fabric, dyed pantone yarns, custom buttons, woven labels, and embroidered logos.
What to Inspect on a Pre-Production Sample (10-Point Checklist)
When conducting a uniform shirt sample inspection, systematically evaluate these four core physical categories against your tech pack:
1. Fabric Composition, GSM & Color Shade Matching
Verify raw material quality before authorizing bulk fabric cutting:
- GSM Weight Verification: Perform a lab sample cut or weigh the garment to confirm specified GSM density (e.g., 140 GSM poplin or 160 GSM twill).
- Pantone Lab-Dip Shade Matching: Inspect the fabric under standard D65 lightbox illumination to ensure 98%+ shade accuracy against your approved Pantone PMS color chip.
- Fabric Hand-Feel & Weave: Confirm soft surface finishing, absence of fabric slubs or weaving flaws, and proper anti-wrinkle chemical treatment.
2. Fit & Flat Measurements vs Tech Pack Spec Sheet
Lay the prototype flat on a smooth measuring table and record flat measurements against your contract specification sheet. Ensure flat chest width, center back length, sleeve length, collar circumference, and shoulder slope remain within acceptable ISO 2859-1 quality sampling inspection tolerances (±0.5 inches).
3. Stitching Density, Seams & Hardware Finishing
Examine garment construction details under close magnification:
- Stitches Per Inch (SPI): Standard high-quality dress shirts feature 12 to 14 SPI along collar and placket seams. Lower SPI (<10) signals cheap construction susceptible to seam bursting.
- Collar & Cuff Fusing: Verify crisp, wrinkle-free interlining fusing inside collar points and cuffs. Fusing should not bubble after washing.
- Button Attachment & Buttonholes: Ensure cross-stitched button security, clean buttonhole lock-stitching without loose threads, and smooth button placket alignment.
4. Logo & Decoration Placement Accuracy
Inspect custom branding execution carefully: verify chest logo position (3.5″ left-chest placement), thread color fastness, backing stabilizer clean-up, and absence of fabric puckering around high-density embroidery stitches.
How to Document Approval & Create a Legal “Sealed Sample”
To ensure bulk production matches your approved prototype, implement the formal **Sealed Sample** protocol:
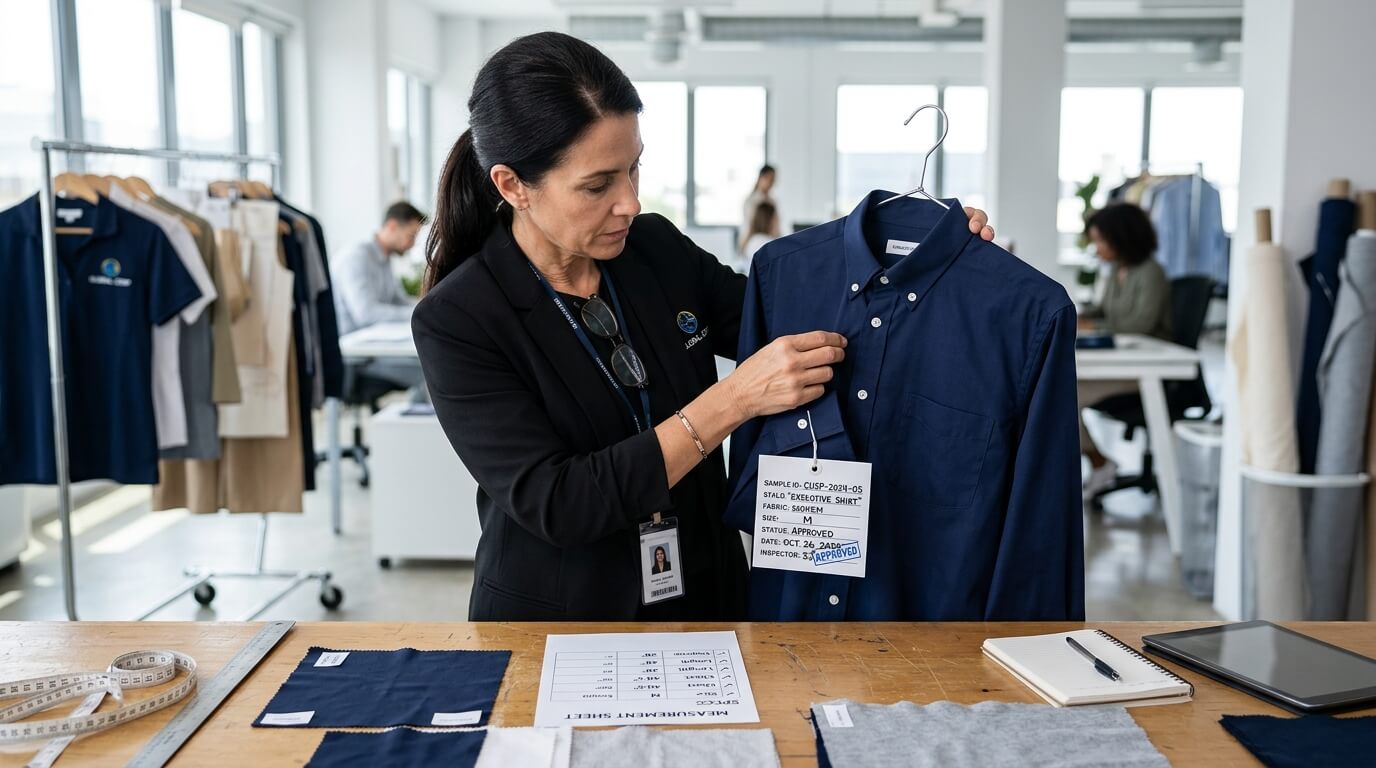
- Require Duplicate PP Samples: Always instruct the factory to produce two identical pre-production samples.
- Attach Official Sample Approval Tags: Sign, date, and stamp tamper-proof plastic security tags onto both sample garments.
- Retain One Sealed Sample in Buyer Office: Keep one sealed sample in your procurement office as your benchmark for final pre-shipment AQL 2.5 inspections.
- Return Second Sealed Sample to Factory Floor: Ship the second signed sealed sample back to the manufacturer’s quality manager to serve as the reference standard on the sewing line.
Red Flags: When NOT to Issue PP Sample Approval
Do not issue written PP sample approval if you encounter any of these critical non-conformances:
- Substituted Sample Fabric: Factory used a temporary stock fabric or different blend instead of the actual bulk lot.
- Measurement Deviations >0.75 Inches: Chest width or body length strays significantly outside tech pack tolerances.
- Bubbling Collar Fusing: Interlining separates from outer fabric, causing unsightly bubbling along the collar.
- Inaccurate Pantone Thread Shades: Embroidered logo colors deviate visibly from approved brand PMS standards.
Best Practices for Sourcing Pre-Production Samples
When negotiating contract terms prior to sampling before bulk order placement, clarify sample lead times (typically 7 to 14 days) and sample fee policies. Reputable manufacturers usually credit sample development fees toward your final bulk invoice upon order confirmation.
Frequently Asked Questions
How long does it take to receive a pre-production sample?
Standard lead times for a custom pre-production sample range from 7 to 14 days, depending on custom fabric dyeing availability, laboratory pantone matching, and computerized logo digitizing.
What is a sealed sample in garment manufacturing?
A sealed sample is an approved pre-production prototype fitted with a signed, dated, and tamper-proof security tag. It serves as the binding physical benchmark for final quality control inspections.
How many sample iterations are normal before bulk approval?
A capable garment supplier should achieve final pre-production sample approval within 1 to 2 iterations—correcting fit or minor embroidery alignment in step two.
What is the first thing to check on a uniform shirt sample?
Always inspect raw fabric quality first (blend composition, GSM weight, and pantone color match). If the fabric is incorrect, measuring dimensions or inspecting stitching becomes irrelevant.
Are sample development fees refundable upon bulk order placement?
Yes. Most professional apparel manufacturers credit initial prototype sampling charges back to your account upon placement of the formal bulk purchase order.
Related Reading: Learn how to source uniform shirts from Pakistan or review our B2B uniform shirt supplier checklist.
Request a Pre-Production Sample for Your Uniform Spec
Test our garment construction, fabric hand-feel, and embroidery accuracy before committing to bulk. We provide physical pre-production samples matched to your exact tech pack.